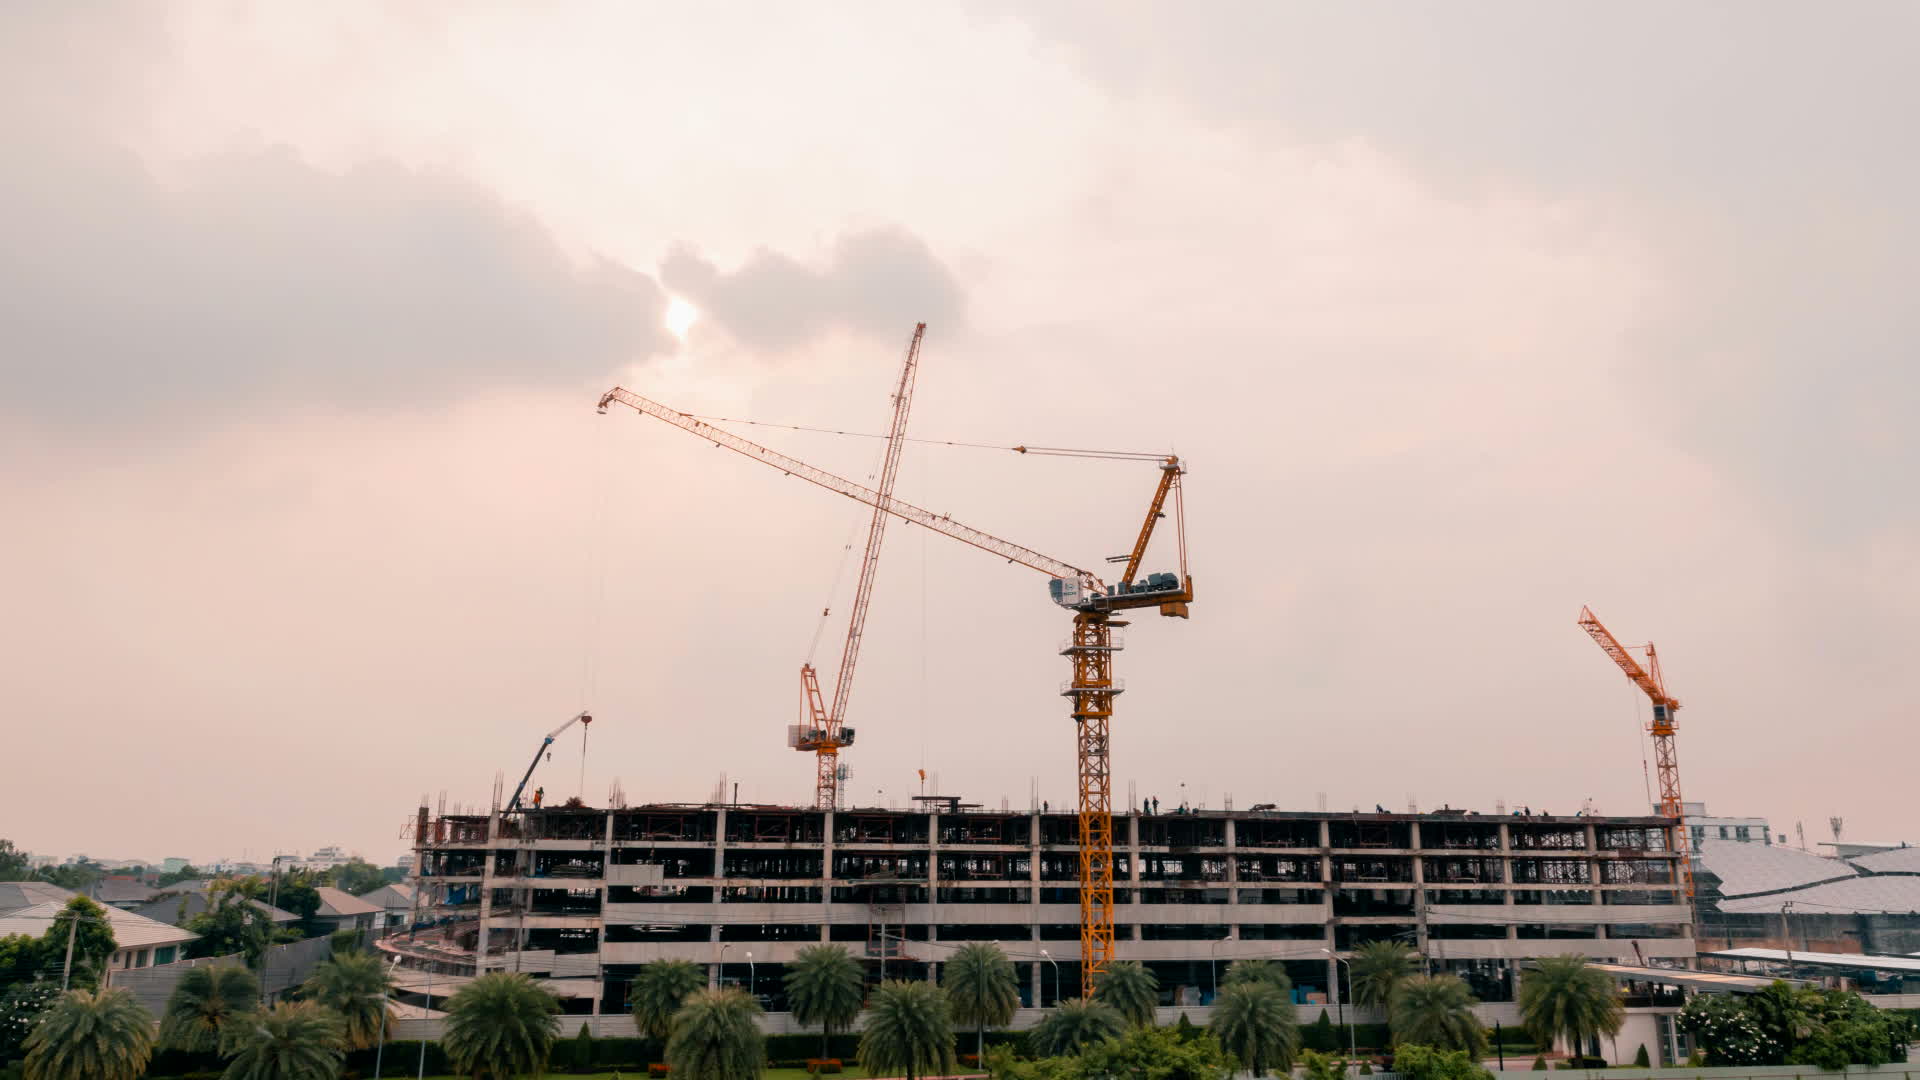
Shooting a Time-lapse in construction can be spectacular, enabling users to capture many weeks, months, or even years into a couple of minutes of the video, Users can easily record the site progress or for marketing purposes. The benefit of remotely monitoring a job site is very useful to check the construction status.
1.Composition:
Shooting time-lapse construction photography is a long time commitment, so we have to scope out a good spot. We have to take into consideration how we want to frame our subject, how much light the area gets, and whether or not there will be any unexpected interruptions. For coming out as a successful Time-lapse video, we have to make sure that the camera is properly framed. We have to make sure that our camera and tripod are set up on the sturdy ground; otherwise, the frames will be slightly different and our time-lapse will look like it’s wobbling.
2. Client Expectations:
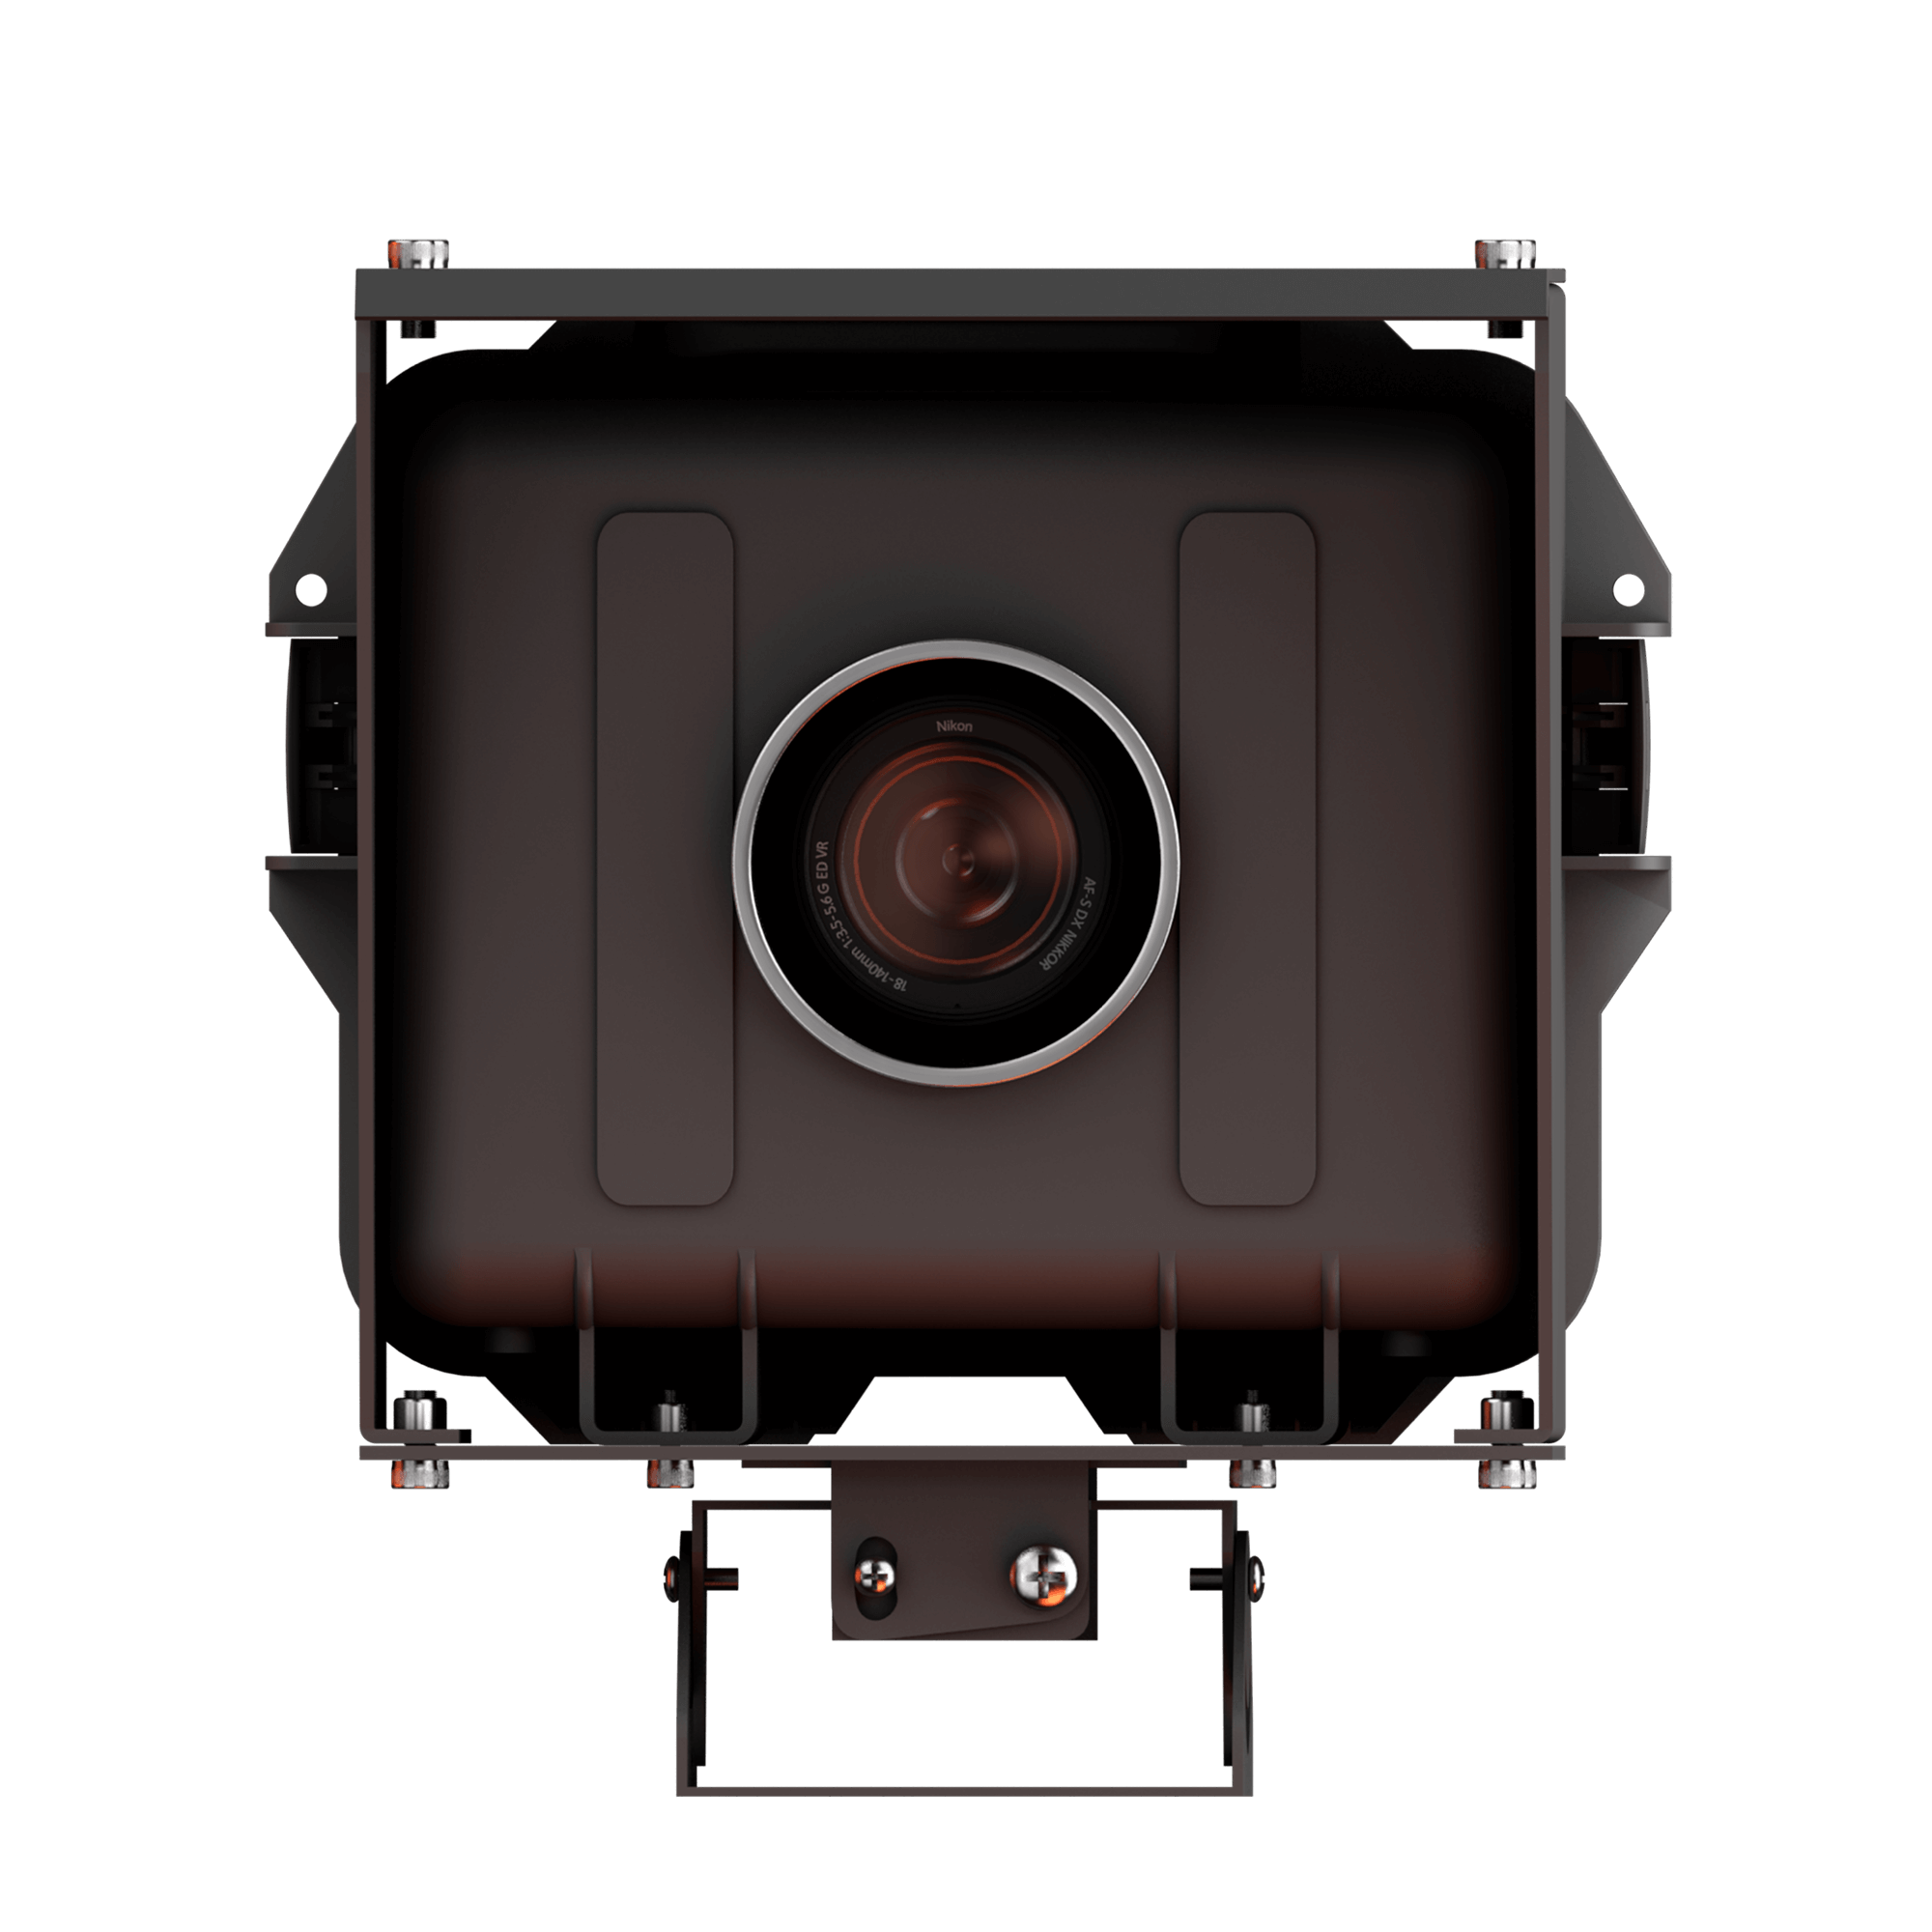
For construction, cameras fixed positions always help. The cameras placed at one single point can take images continuously without moving and focusing on different points throughout the project. The best location for a construction camera can be a little distance away from the actual construction site.
3. Setting The Right Intervals
When setting the intervals for our camera, we have to make sure to understand what the client wants and what data costs will be charged. We also have to completely comprehend the available power options on the site and other technical feasibility and set our intervals as per them.
4. Overshooting
The best chance of getting good photos is to have lots of photos to choose from. So, it’s always better to overshoot rather than undershoot. Considering construction Time-lapse, there can be issues in the lighting, the color of the pictures, the weather calamities that can block the camera and thus the captured photos can’t be used in the final video. After discarding the unworkable photos, it can be highly likely that there won’t be enough photos to use. So, to be on the safer side it’s better to overshoot rather than undershoot, however, keeping in mind the data usage, power options, and client expectations.
5. Upload Selective Photos
Not every picture that is clicked has to be uploaded. With TQ, clients can selectively upload some photos, while saving others to local storage. By selectively choosing the pictures, the client gets real-time monitoring at a high frequency and the extra photos are easily stored in the local storage and can be used whenever you need them.
Concluding, Construction cameras help monitor construction sites as the features are specifically developed to enhance construction efficiency. Most of the companies have saved a lot of time and money by observing the construction camera output.
How can I monitor my construction site remotely?


