
Once you recognize the need for a time-lapse camera, the next thing on the agenda is setting it up. Let’s first summarize the grounds for using a time-lapse camera so that the next step of configuration follows smoothly.
Domain(Construction, Aesthetics, Science, Technology, and Research):
The technique of time-lapse photography will vary from one domain to another, and this difference emerges based on its usage.
In civil engineering projects, the primary purpose is to capture the gradual transformation in landscapes, maintain vigil to some extent on the construction sites, and share real-time updates with engineers and project managers working off-site. Time-lapse photography will also help store and present project recordings that can then be used to pitch to potential stakeholders. Therefore, a construction time-lapse camera needs to be chosen accordingly.
To capture aesthetics, such as the celestial dynamics, changes in biodiversity, or the hustle and bustle of cities, time-lapse photography is again purposeful. Just as in a construction time-lapse camera, an aesthetic time-lapse recorder must also account for details. However, artistic vision, therefore image color, and resolution is considered a top priority. Thus, the time-lapse camera here will be more pixelated.
Additionally, since most timelapse events are to be recorded outside, an outdoor time-lapse camera needs to be rugged and well-equipped to work stand-alone.
Frequency of Time-lapse Frames:
Time-lapse photography and videography involve close coordination between the frequency and frame rate of clicking scenes. In construction photography, the projects run for years altogether. Therefore, the frame rate is generally kept lower unless the purpose is surveillance. In natural photography, detailing is more important, hence the camera needs to click more frequently. The frame rate will ultimately determine the smoothness of the video and help you record progress accurately.
Additionally, during time-lapse photography, it is crucial to define the beginning and end of recording sessions and the duration for which the camera unit functions so that nothing important goes unrecorded.
Time-lapse Photography:
Most time-lapse photography operates at length for days, months, and even years altogether, for which the camera needs to run uninterruptedly without heating up or shutting down. Therefore, it should be backed with necessary power sources, batteries, and cooling fans for seamless operation. Long-term timelapse cameras are mostly equipped with such capabilities.
Additionally, to maintain a remote connection with project managers, engineers, and audiences off-site, the device must always operate online. For this, your device should either support a SIM card or be connected to an area network (LAN, WAN, MAN) to share updates.
Depending on the project duration and the estimated photos to be captured, you must also be prepared with good camera storage and an expandable memory to store and edit multimedia with ease.
Sharing and multi-editing teams
Post-time-lapse photography is crucial because it involves arranging, editing, and presenting the results of all the tireless efforts inputted. For projects requiring timely sharing of updates, the camera output needs to be configured with appropriate real-time time-lapse software. Additionally, a dashboard needs to be in place where the editing and sharing access is managed.
Quality Desired:
Ultimately, the quality of the photos and videos obtained will have to do with the camera equipment, stabilization, and extra measures taken during and after the recording. Cleaning camera lenses frequently, adjusting the equipment, and shielding the gadget against natural and human interference should be prioritized to maintain a good output quality.
Finally, only with professionals managing the dashboard to edit and compile multimedia, the end product can be guaranteed to be of finesse quality.
Pre-Photography Measures:
1. Identifying the location and purpose of the time-lapse photography
is the foremost step. Once the place is identified, professionals can prepare the necessary equipment to be taken there, carry additional equipment to ensure seamless recording and configure the camera equipment to match project requirements.
The choice of a robust outdoor time-lapse camera is thus indispensable.
2. Selecting the ideal Time-lapse camera(s)
that matches the project requirement: Depending on the detailing, media quality, frequency rate, inclination etc., professionals can employ relevant gadgets, lenses and accessories to get the desired results.
At Quantam, our time-lapse camera is supported with a tri-axis mount to pan, tilt, and incline however you want.
Additionally, your time-lapse camera should have sufficient storage capacity with room for expansion. With our professional time-lapse camera, you can backup your files by plugging in a flash drive or SSD.
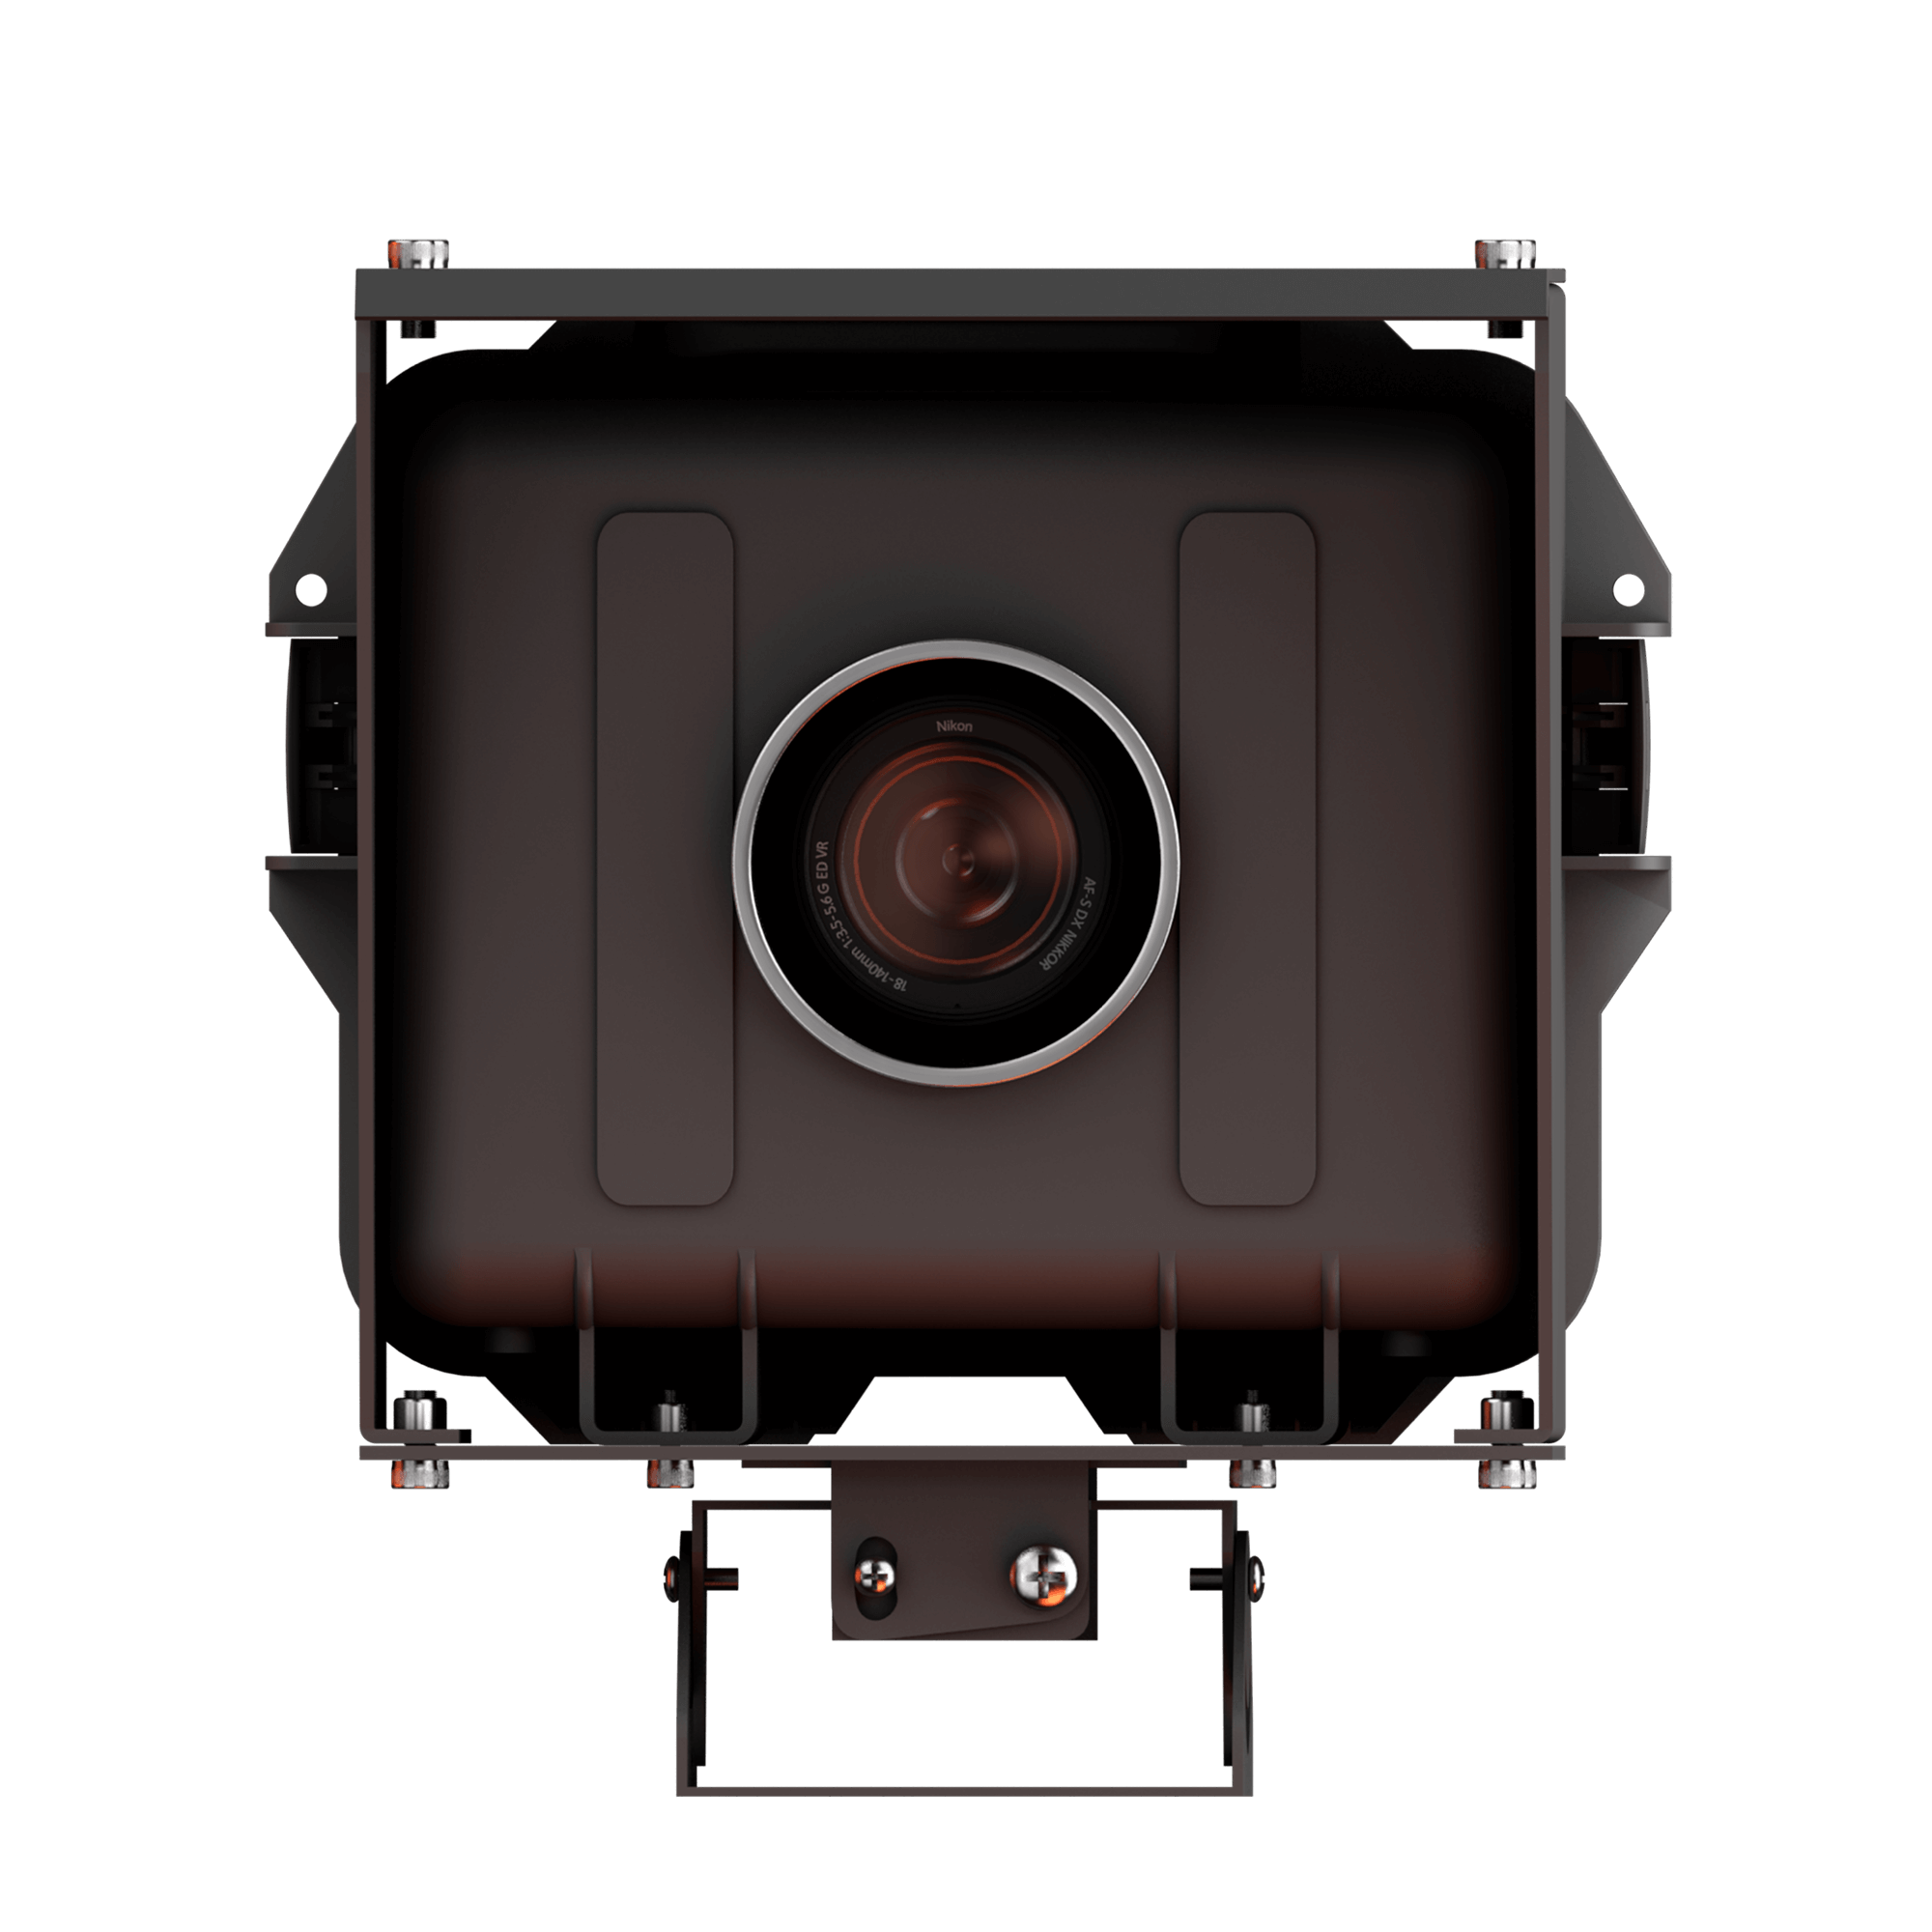
Our popular Quantam Iris supports HD quality cameras like Canon EOS 1500/2000D and Nikon D3500 with its zoom feature enhanced by an accessorized Sigma 10-20-mm lens. It also supports a range of other Canon and Nikon cameras like:
List of supported Nikon cameras: D3500* D5600 D3400 D5300 D3300
List of supported Canon cameras: EOS1500D / 2000D / Rebel T7 EOS RP EOS 200D MK II Rebel SL3 / EOS 250D EOS 5D Mark IV EOS 90D EOS 850D / Rebel T8i
Please note that cameras are not included in our Quantam time-lapse equipment and need to be purchased separately as per the need of your project. However, our device does include a 500GB hard disk drive for you to record, store, and edit multimedia seamlessly.
3. Setting up of the time-lapse camera at the planned location: On the moving day, the camera equipment must be set up meticulously, adjusting it until the desired angle and position is attained. Next, the internal camera settings need to be made, the frame rate defined, the lens properly focussed, and the clicking well-timed. Once the desired frame is obtained, additional preventive measures need to be taken to battle unfavorable conditions. While purchasing Quantam, we pack a housing mounting plate (pan, tilt & yaw), Quantam controller with camera cables, and pole mounting brackets, clamps, and bolts for you to bolster the setup yourself.
4. Ensuring a rugged setup that tackles unfavorable conditions is crucial for uninterrupted photo sessions. This involves encasing the camera equipment in a waterproof protective casing. Additionally, a stable axle for support and movement will help stabilize recordings. Drones with cameras for aerial capture should also be equipped with suitable protective gear to ensure seamless recording. Our Quantam time-lapse camera is equipped with a military grade IP66 Pelican case built to tackle extreme weather conditions. Additionally, its electrically coated Aluminum enclosures and mounts help in stabilization at high altitudes.
5. Establish a seamless power supply with battery backup:
To ensure a seamless recording over a period, backup your device with batteries and an external power supply. Overheating during long working hours can also be avoided with necessary cooling devices.
Our long-term time-lapse cameras run on AC mains. In particular, Quantam Iris is supported with a 15V AC adaptor. Additionally, it comes with a chargeable 14Ah Lithium-ion battery, powered with a solar-powered backup for the camera to run tirelessly. The battery can alone run for seven days straight!
6. Maintain internet connectivity: To share updates with teams off-site, your device must have an internet facility for teams to witness progress as well as edit media in real-time. Our device operates on a sim card or fixed line internet that uploads images to your database and then to your front-end dashboard.
7. Interlink camera with real-time software to get instantaneous updates:
For better project management and to maintain a keen eye on every new development, a real-time software/application needs to be linked with the optical equipment that sends updates at intervals or continuously.
With our cloud platform, progressCenter, you can operate and manage multiple projects simultaneously on a single dashboard in real time. Integrated with an intelligent bot PeeCee, you can even receive updates texted to you over WhatsApp!
8. Configure camera settings to achieve the overall objective: Once the camera is positioned well, to begin the photography from its stipulated time, camera settings must be adjusted. This involves choosing the frame rate, ON-OFF timing, and duration of its operation, among other frame attributes. You can experience the best 4K image quality with our Quantam Iris which supports a wide range of DSLR cameras for the best experience imaginable!
9. Monitoring updates on real-time software: If the project requires supervision, it is imperative for teams to maintain a close vigil with the pre-integrated real-time software. Maintaining a close eye will also ensure shooting errors are rectified in time, and progress is observed in depth.
Post photography:
10. Editing, Compiling, and Reviewing:
Lastly, as the construction project culminates which could be the cessation of any natural process, completion of any experiment under observation, or simply the camera finishing recording; images and videos captured in the process must be analyzed and reviewed. Post-capture editing and sequencing to render fine-quality videos thus becomes the final and crucial step of this long and eventful journey.
Our products are covered under a standard warranty of one year, beyond which extended warranty plans can also be purchased.
At Quantam, we uphold to give you the finest product and customer experience. Right from the proper consultation for the choice of our time-lapse gadgets to setting it up for you, we will assist you in all the ways you want.
